Understanding the simulation mesh is important for all EM tools, because it determines accuracy and simulation time. In this application note, we will discuss mesh related settings for RFIC EM simulations with Empire XPU.
Automatic meshing
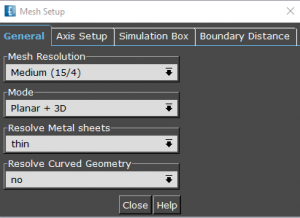
By default, Empire uses automatic meshing that is based on geometry information, frequency range, material properties and a few global settings:
The default Mesh Resolution setting is “Medium 15/4”. This ensures at least 15 mesh cells per wavelength, with wavelength calculated using the highest εr value in the model. The second number (4) indicates that conductors are meshed with a minimum of 4 mesh cells across the conductor width.
The typical Mode setting for RFIC simulations is “Planar”, or “Planar + 3D” if you have non-planar geometries for packages etc. For bond wires, the planar setting is usually fine, because the mesh algorithm detects bond wire and refines the mesh as needed.
Resolve Metal sheets determines how flat conductors are meshed in the z direction. Flat conductors can be simulated as an infinitely thin sheet, with losses included by the effective surface impedance value, calculated from thickness and conductivity. This can be useful if the metal thickness is much smaller than all other dimensions in the model, and meshing that small dimension would slow down simulation because of a very small timestep.
However, for RFIC simulations we usually want to include metal thickness in simulation, so that edge coupling and capacitance between the sides of closely spaced metal is properly modelled. This is done by changing the metal sheets setting to 1 cell.
Resolve Curved Geometry is used to create a higher resolution for curved geometries. Why do we need that setting, instead of always refining curved geometries? Sometimes, curves from imported 3D data are not relevant for simulation, so Empire lets you choose if the mesh should be refined or not.
Below, we will learn how different auto-mesh strategy can be set per layer. Later in this appnote, we will learn about more detailed mesh control using mesh hints, globally or individually per layer.
Auto-mesh strategy setting per layer
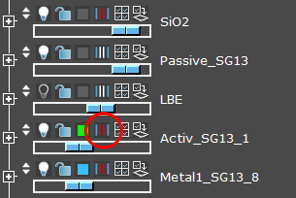
For each layer, there is a button that controls the auto-mesh strategy for all objects on this layer:
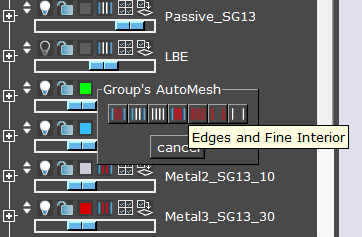
Clicking on this icon opens a small dialog box where you can choose the auto-mesh strategy. If you hold the mouse over one of the icons, you get a text display with more information:
The default setting evaluates the object boundary and places some mesh line inside (4 lines for the 15/4 strategy). Other settings place more mesh lines inside, or mesh lines only at the boundary, or completely ignore the object for meshing.
If you use the IHP SG13 template, you will notice that layers LBE and Passivation take advantage of this feature, and have non-standard auto-mesh properties with reduced mesh density.
For more detailed information, please refer to the Empire manual.
Check the resulting mesh
Above, we have already seen screenshots with a visualization of meshed geometries. This can be shown at any time by first generating the mesh, then viewing the meshed 3D structure.
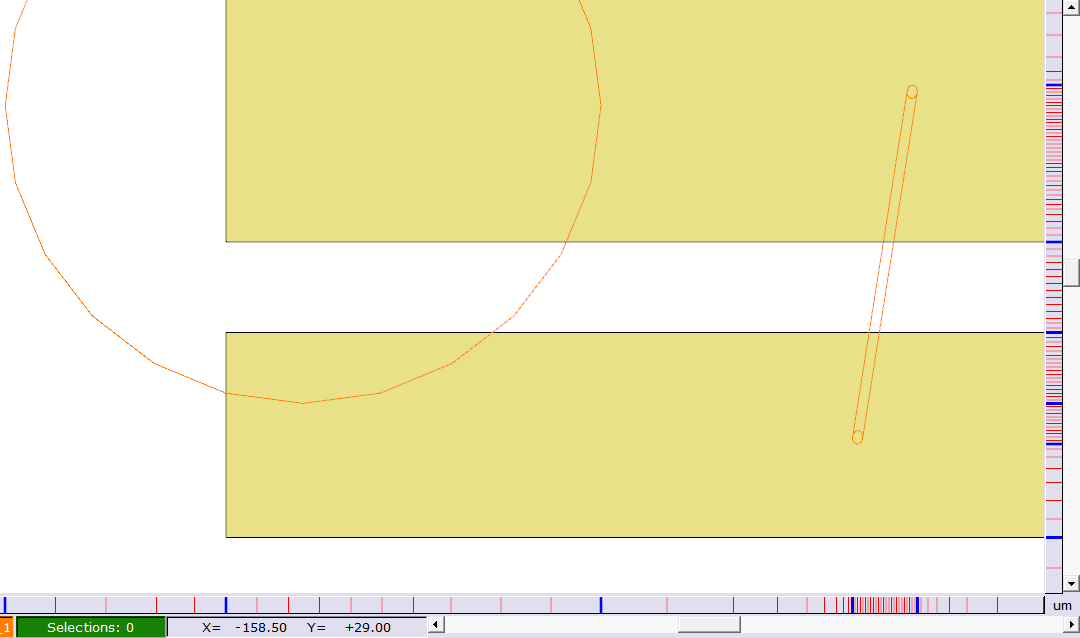
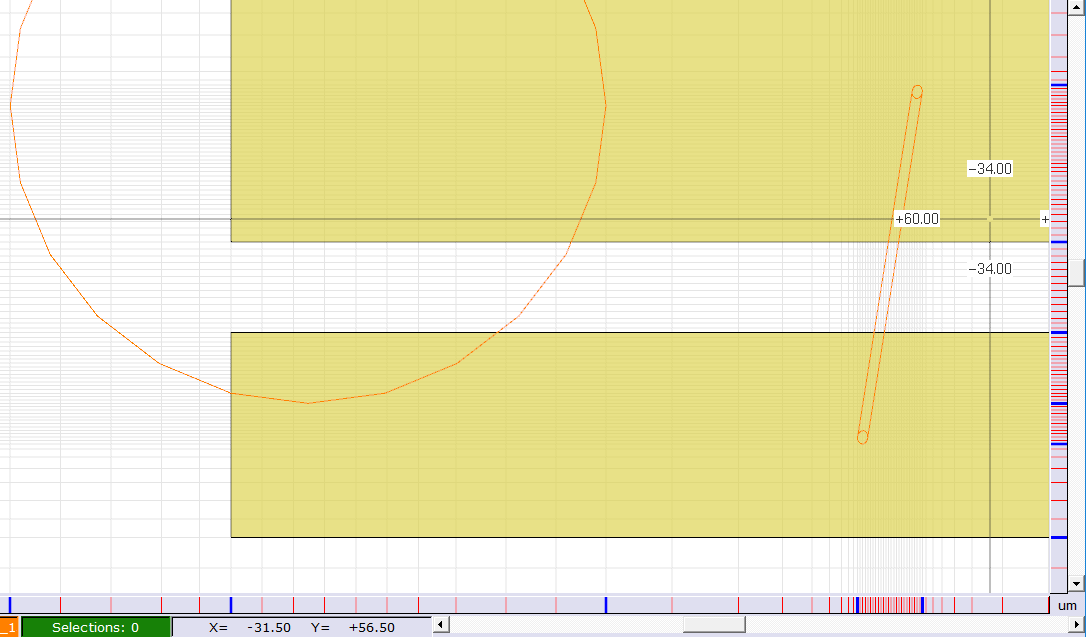
In the 2D editor view, mesh lines are shown on the sides of the drawing window.
If you prefer mesh line display across the entire drawing window, you can enable that in the 2D editor preferences.
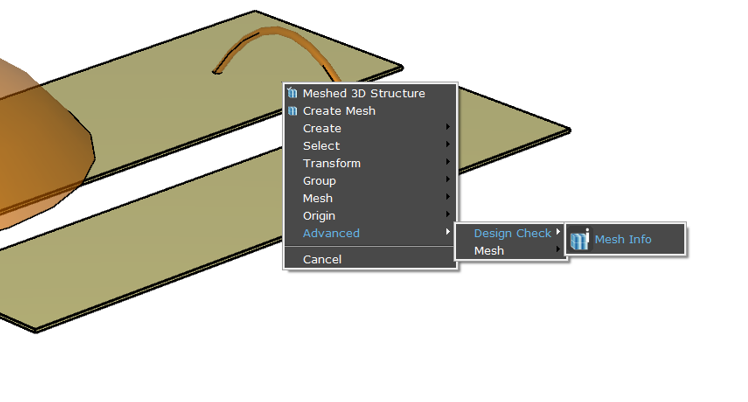
In addition to the visual mesh inpection, we can check the mesh density and minimum cell size using Mesh Info in the project tree. This can be shown be expanding the Mesh Setup section in the project tree, or by using Advanced > Design Check > Mesh Info from the right mouse button menu.
The mesh info window reports the number of mesh cells for each direction, and the minimum mesh cell size for that direction. The minimum cell size is important because Empire’s time domain solver uses a time step that depends on that minimum cell size: the smaller the minimum cell size, the smaller the time step needs to be, and the more total simulation steps are needed to cover a given simulation time period.
In the example shown here, the smallest cell size is 200nm in z direction, which results from the 200nm passivation layer above TopMetal2. This is perfectly fine, and we want to resolve that small cell size at that dielectric. Cell sizes in x-y direction are larger than this, so the x-y mesh has no additional effect on the resulting time step.
Of course, refining the mesh always results in a larger total cell count, and total simulation time increases with total mesh cell count. Nothing is wrong with that – accurate results need a fine enough mesh density, and a small cell size is sometimes desired, as in this case. But sometimes, small mesh cells result from drawing inaccuracies or small geometries that don’t matter and do not need to be resolved with high resolution. In that case, we want to limit the minimum cell size, to avoid a too small timestep that slows down simulation. This is described next in this appnote: how to manually control the mesh.
Mesh hint: User controlled mesh density
In addition to the auto-mesh strategy control per layer, Empire offers “Mesh Hints” to tell the meshing algorithm in more detail about our preferences. These settings can be global constraints to the minimum or maximum cell size, or local mesh hints that apply only to a certain layer, or even to a single object.
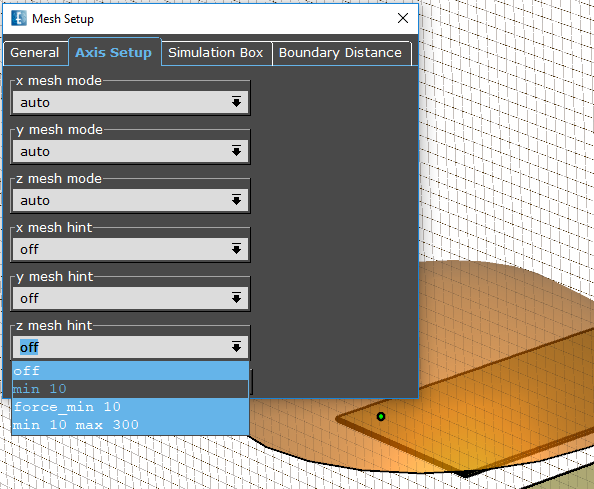
Global constraints can be found in the mesh settings: Edit > Automesh Options …
The first settings (“x/y/z mesh mode”) are not relevant for us. We don’t use truely manual meshing, so we can leave the mesh mode settings to “auto”. Instead of using manual meshing, we will help the automatic meshing algorithm with mesh hints, which can be found at the bottom of the dialog for x,y and z direction.
In the dropdown list, we see some mesh hint examples how to limit the minimum and/or maximum mesh cell size. As the name indicates, the importance of normal mesh hints is “hint” only, and the algorithm might decide differently if the geometry requires a different mesh strategy. When used with the “force_” prefix, this mesh setting will take effect always, no matter what.
These global settings are great to globally limit the minimum mesh cell size, so that unimportant small geometry details don’t cause a tiny cellsize with a tiny timestep.
Mesh hint per layer
To apply a localized mesh change, we need to assign the mesh hint to certain objects only, or to a certain model area. There are two possibilities:
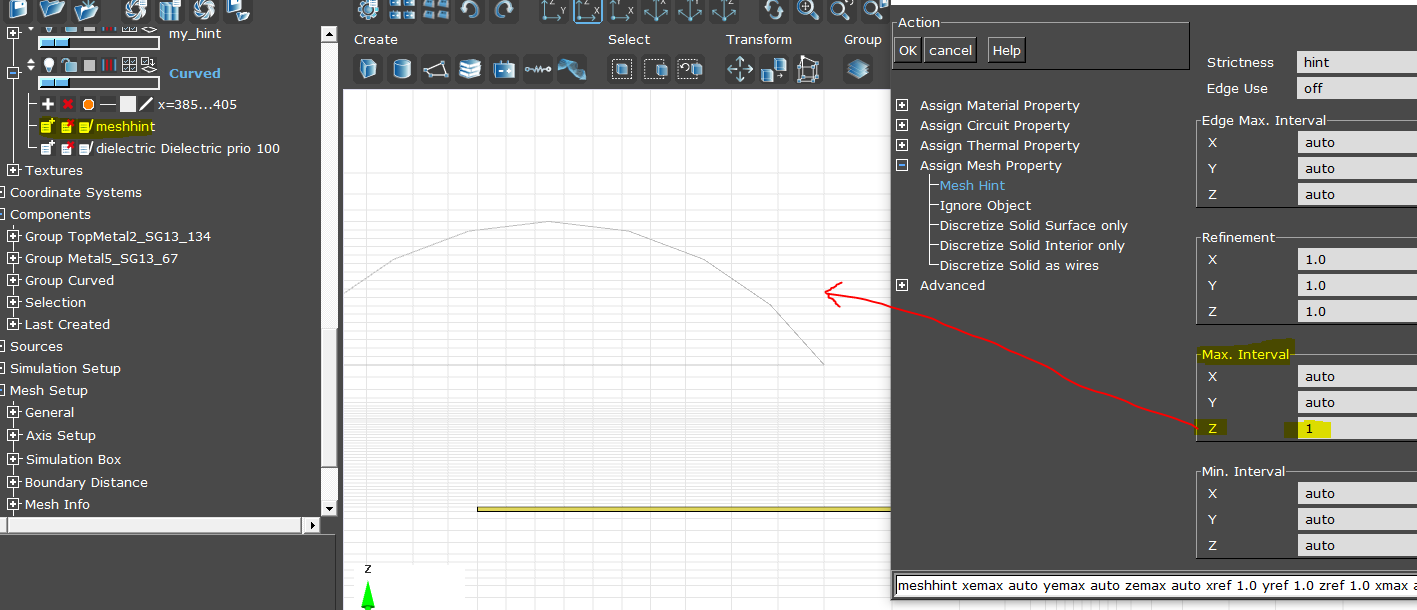
- We can add a mesh hint to an existing layer, so that it applies to all objects on that layer. In this case, the mesh hint is added as an additional layer property, in addition to the metal or dielectric properties.
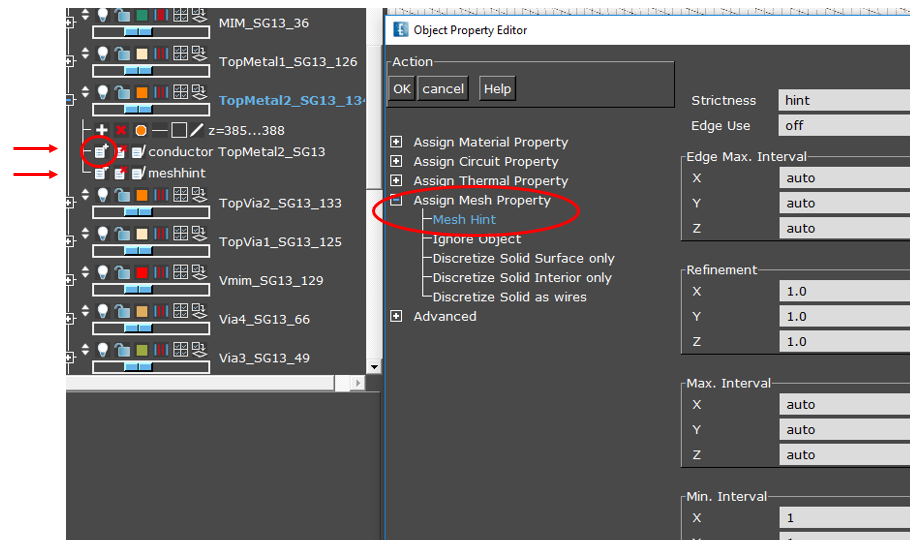
- We can create a separate, new layer with the mesh hint.In this case, the layer must be set to “mesh hint” only, and have no material properties!
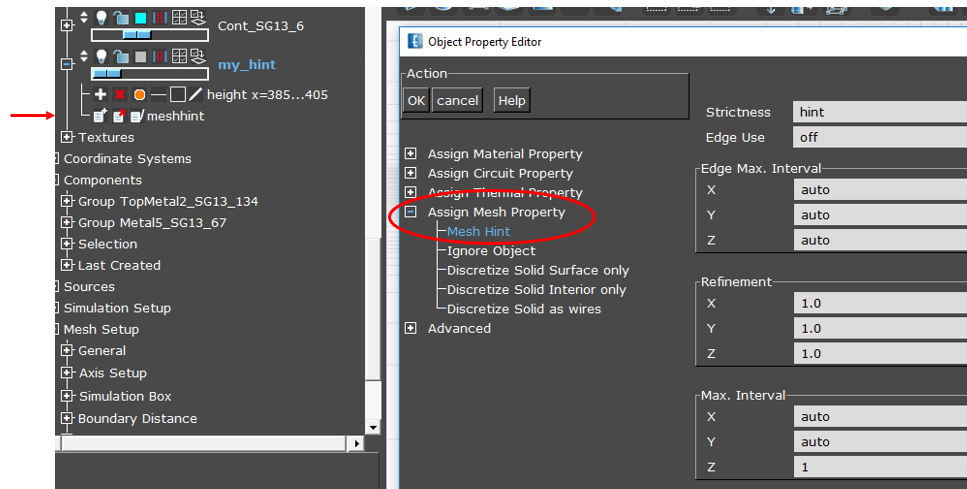
The mesh hint is then applied by drawing a dummy object on that mesh hint layer, at the desired area/volume.
Here, we will apply the first method to the curved shape in our example, and limit the mesh cell size in z direction to 1µm. Compared to the default mesh, this will create a higher resolution of the curved shape.
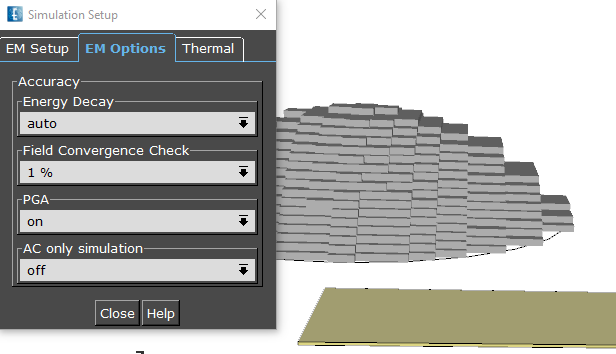
Usually, there is no need to create an ultra-fine staircase approximation, because Empire offers the Perfect Geometry Approximation (PGA) feature for partially filled cells. This feature can be found in the simulation options and is enabled by default.
Avoiding small detail: Via Arrays
One example where geometries in RFIC simulation cause a really fine mesh is via arrays. Dimensions of the individual vias are usually larger than thin layers in z-direction, so this might not have a negative effect on the time step, but the via arrays cause a mesh refinement and increase the total mesh count.
If the model has large via arrays, we usually want to merge vias before simulation, or even in the external layout system before importing the layout to Empire. For SG13S/SG13G2, automation using a script is available to do the via array merging in Empire, please contact us for more details.
If there are just one or two layers with vias, this would be a manual procedure for via array merging:
- Open the layout in 2D editor mode. Select all objects on the via layers, using the “Select groups objects” icon in the layer list.
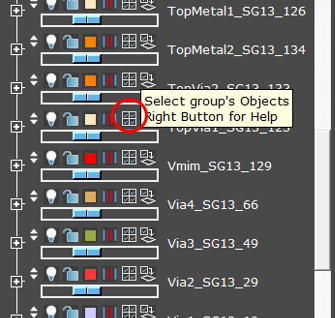
- From the right mouse button menu, select “Advanced > Transform > Oversize” and apply that with a value that is larger than the via-to-via distance, e.g. 1 micron.
- Select the layers objects, then do a boolean union to merge the shapes

- Select the layers objects, then do “Advanced > Transform > Oversize” again but with the negative value (same amount as before, but negative sign for undersize instead of oversize).
This ends our application note on Empire XPU meshing for RFIC applications. If you have comments or questions, we’d like to hear from you!

